David's Chop Shop
Demonstration courtesy of David Martin

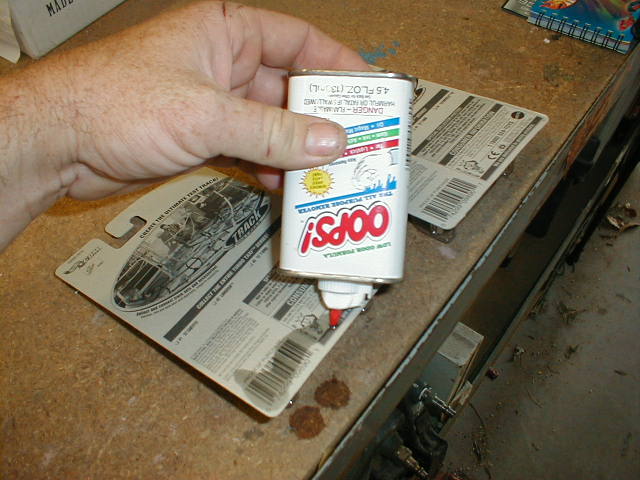
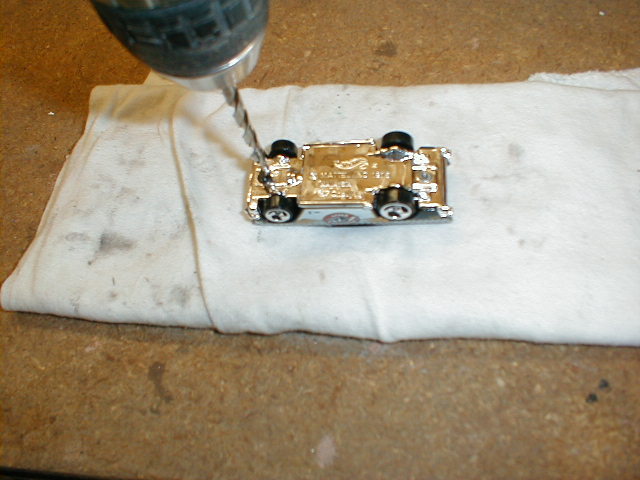
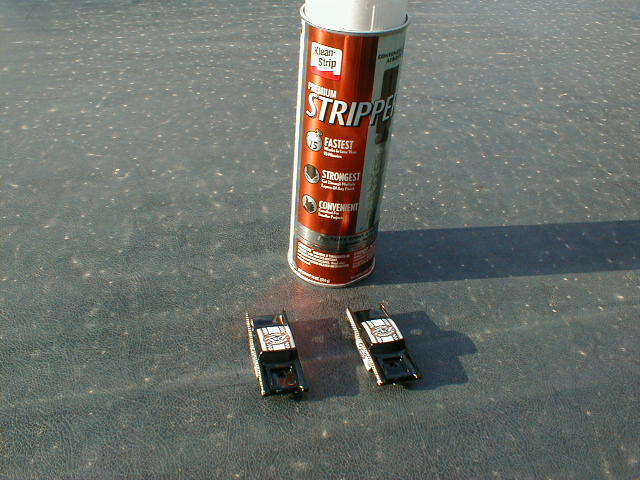
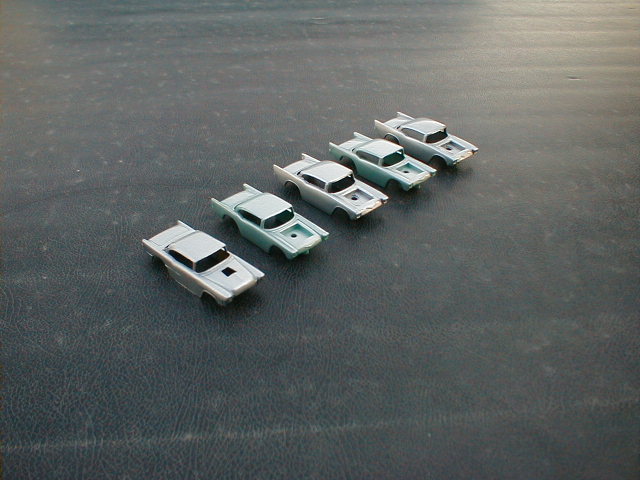
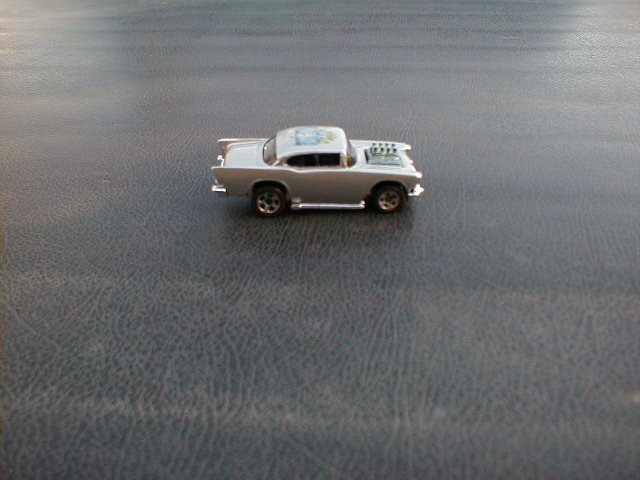
Custom Color Change

These are my tips from a couple years of trial and error , there are some cars that I have painted, stripped and repainted for as many as 30 times before I got it right and got a finish that I liked. It is also important that you find a paint and clear coat that are compatible together. The clear coat is what will really brings out the final finish.

1. Releasing the car from the package

First of all, pick your car of choice.  The car here is a '57 Chevy which will become a Hallguide.com custom club car.  If you are planning on reusing the blister-pack, you will need to carefully remove it without damaging the package.  I use OOPS available from Wal-Mart, applying it through the back of the card to the sides and bottom of the blister. Leave the top to align the blister when you reseal the package. You might need to apply the OOPS twice to get it to soak through the card. After letting the card soak for several minutes, gently pull open the blister and slide the car out. Put a pencil between the blister and the card and let the blister dry and put the card in a safe place so that you can reseal your custom on the card later.

2. Drilling out the rivet

I use a 3/16 drill bit being careful not to damage the base of the car. You only want to remove the head of the rivet, just enough to release the base and not damage it.

Be gentle when removing the base as the plastic bases will bend and break easily if you pry on the too much. Be careful not to bend the axles.

Once you have the base off, put all the parts in a plastic bag, and do not scratch the windshield. Now is a good time to use a Dremel tool to smooth up the area where the rivet was removed to make it easier to reassemble later.

3. Removing the paint

I tie the body of the car with a piece of wire and soak it in a mayo jar in paint stripper.

After letting it soak for a time, lift it out by the wire to keep your hands out of the stripper and rinse it off with water. Use a small toothbrush to remove any excess paint and put it back in the stripper if necessary.

Once the body is free of paint, dry thoroughly and use a little 00 steel wool or a Dremel and wire brush to prep the body for paint.

4. Paint

To paint from a can, make sure that the body of the car is free from dust. You will need something to hold the car, I started with a alligator clip to the post for the rivet, and a bent wire hanger. Now I use a set of helping hands with alligator clips and do 2 cars at once. Paint in even coats from all angles making sure that you do not use too much and make the paint run, You will want to paint all angles on the car and let dry completely between coats….Practice, practice, practice.

Remember you can always go back and strip the car and start over….Until you get the coverage that you desire

Once you have the color completed and dry for a couple days (lacquer takes days and even a week to fully cure) You can repeat the process with the clear coat. This will give your custom a smooth as glass and crystal clear finish….

I like to use an automotive clear from the paint section at an auto parts store…

Let dry completely again for a few days.

5.Reassembly

Now it is time to put all the pieces back together in the same way that you took them apart. It is easier to hold the car with a very soft cloth so as not to scratch it.

I use a drop of 5 Minute epoxy to hold the windshield in place if there was a rivet holding it in place, if not then it should just snap back in place.

When all the pieces are fitted together (You may have to squeeze the base to the body just a little) Apply a drop of epoxy at each rivet and allow to dry.

Be careful not to bend the axles. Allow time for the epoxy to dry completely.


Here is the finished product - the first ever Hallsguide.com Custom Car!

6.Reblister

Gently lift the bottom of the blister and slide your car back in place just the way it came out. Since the top of the blister is still attached, it should line back up perfectly.

Now we will use a little non-fogging Super Glue, that comes with a brush like fingernail polish.

Apply the glue to the blister, just a thin coat. It only takes enough to seal it to the card. You do not want it to get on the car or leak out around the edges. Then I sit the card flat on the workbench and use a little weight such as a book to hold the blister down until it dries.

David Martin is an avid collector/customizer from Phoenix.  He can be found day or night on the Hallsguide.com message board.

Hallsguide.com